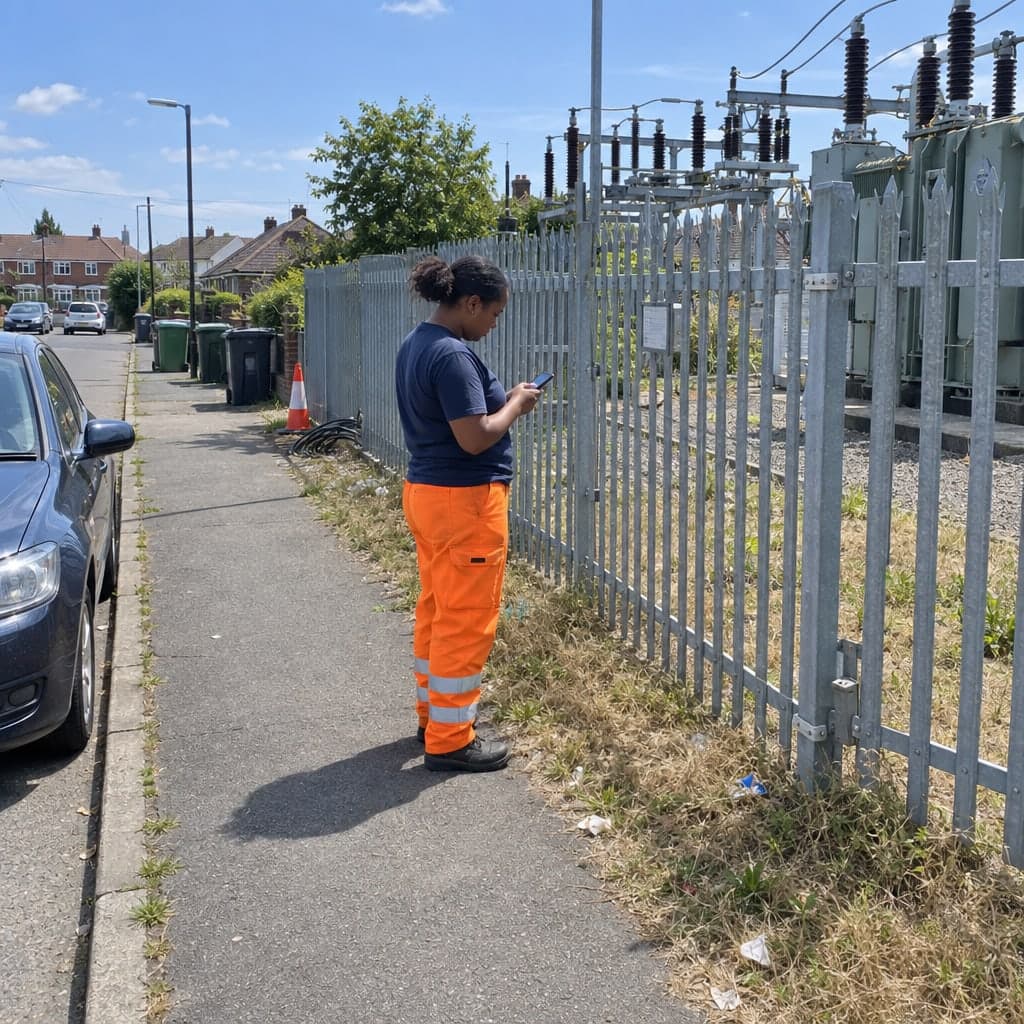
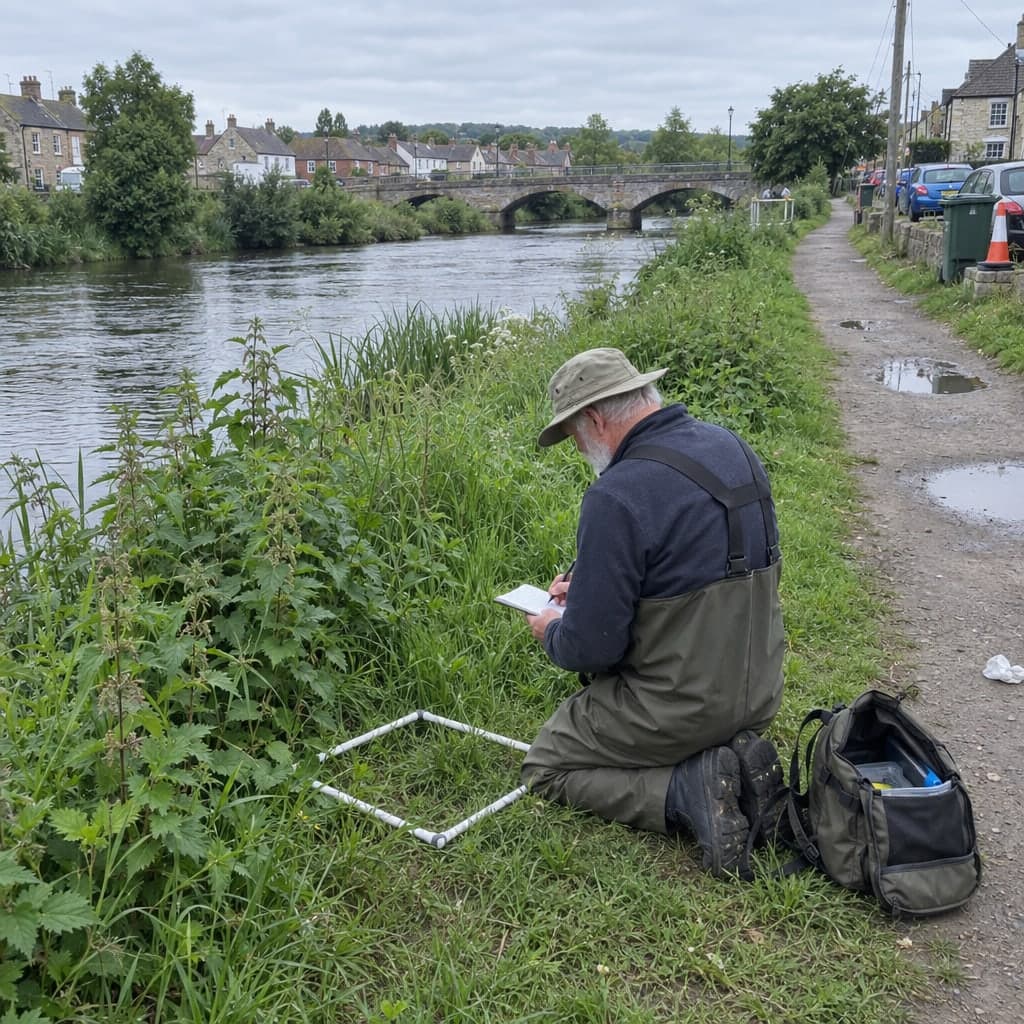
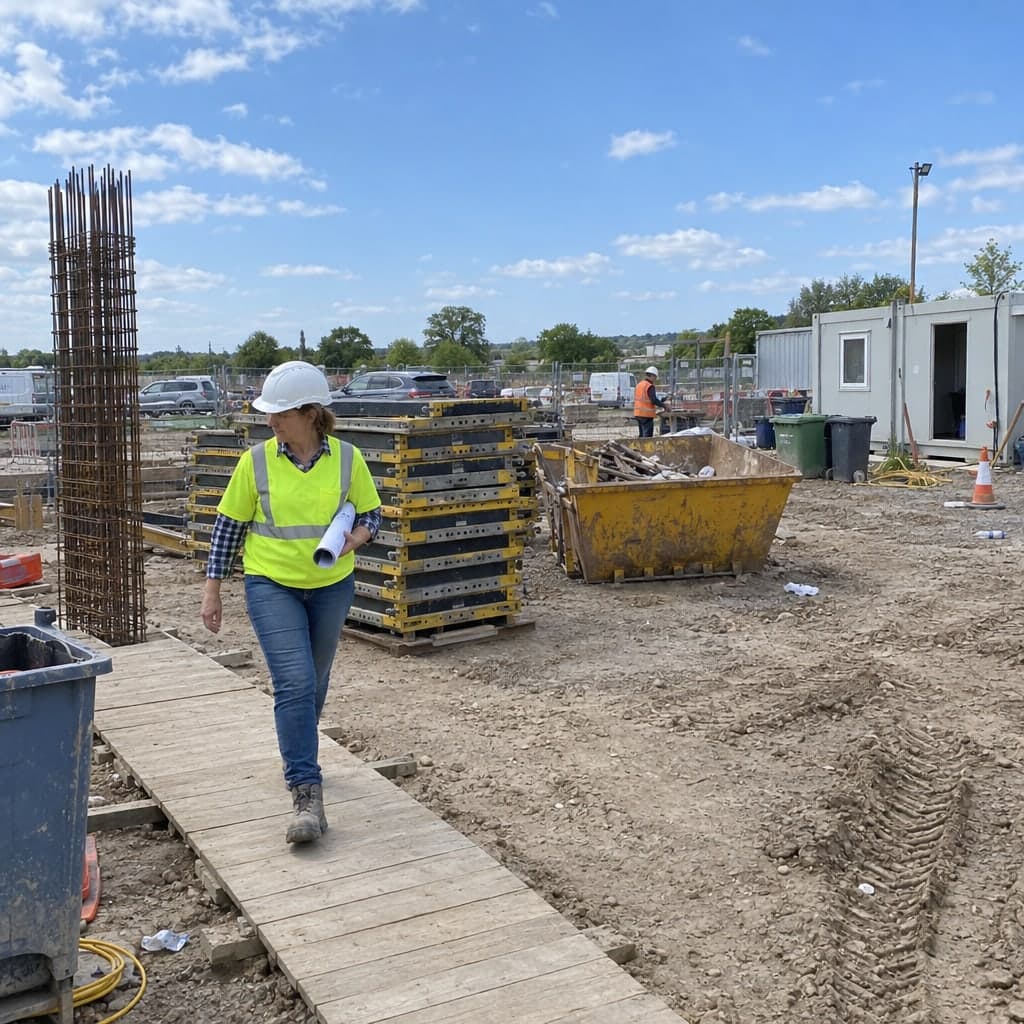
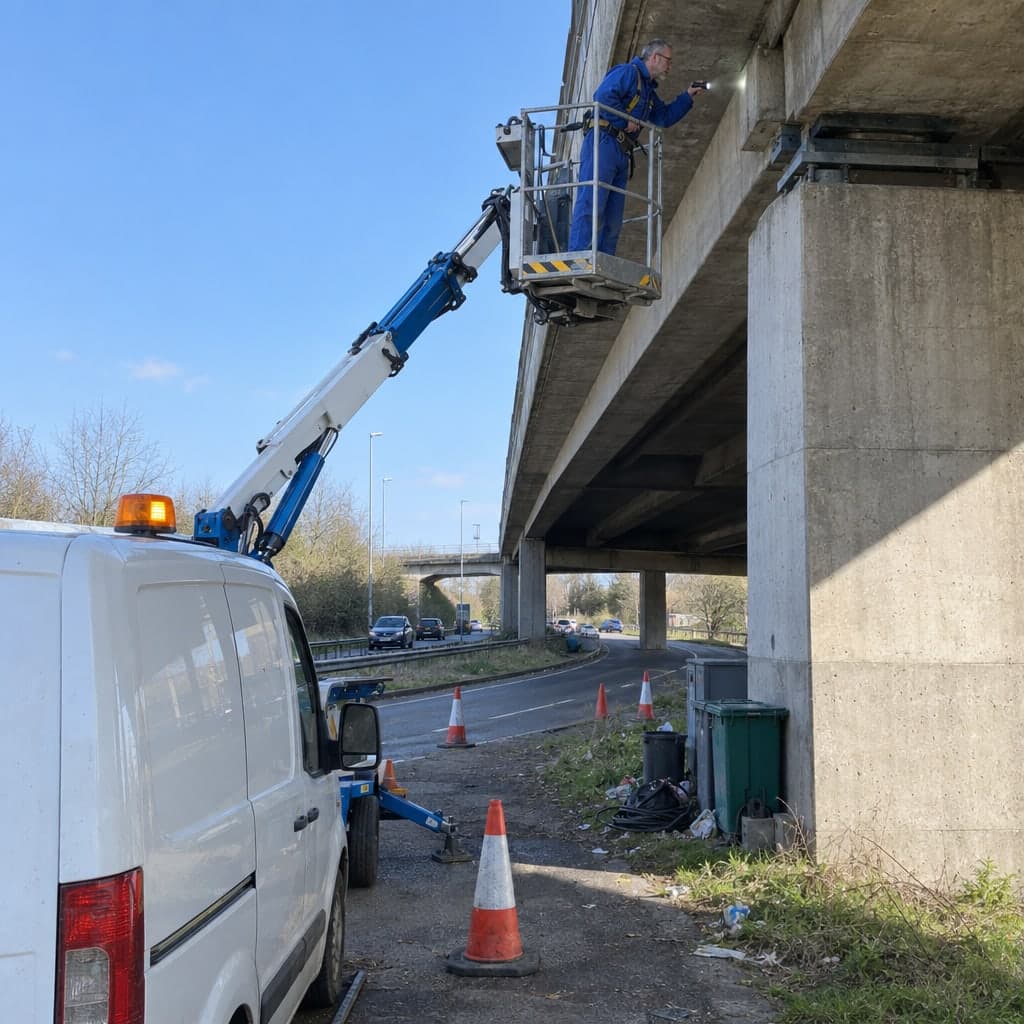
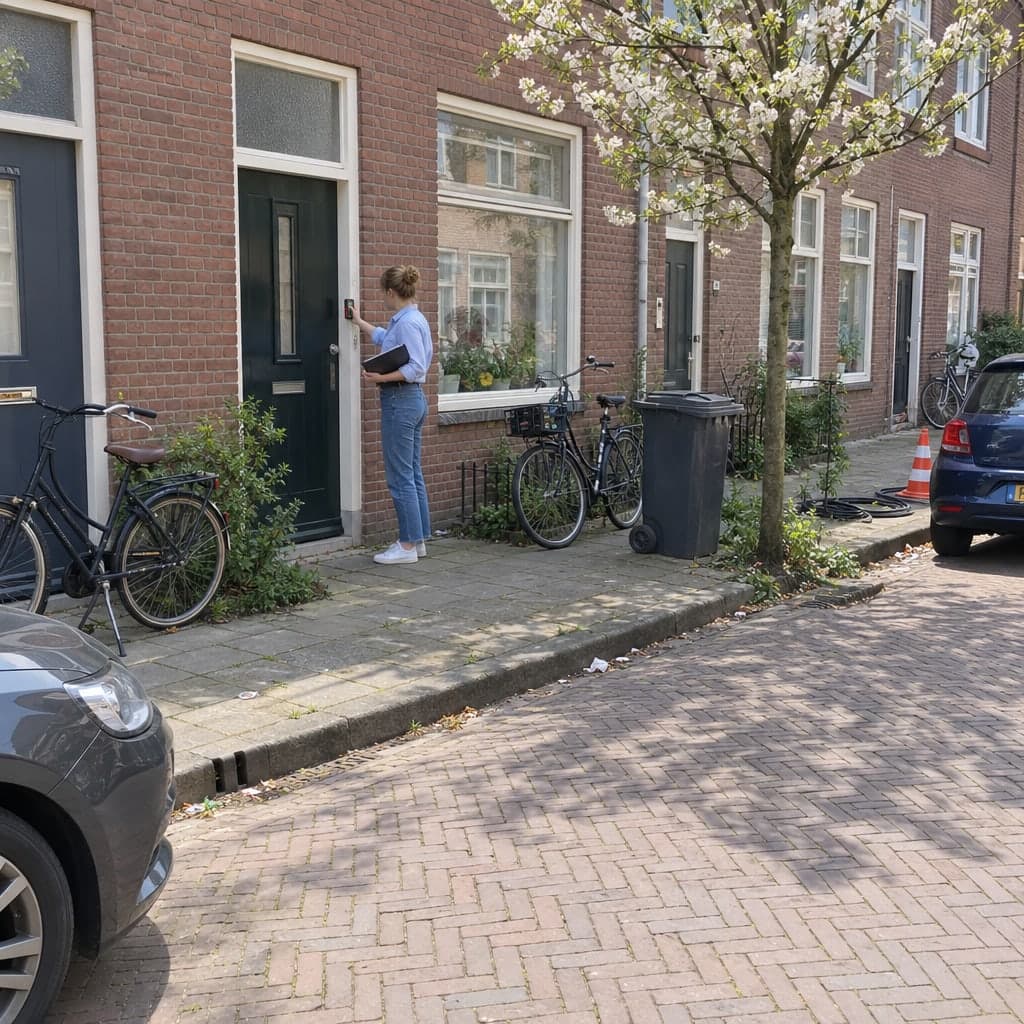
Defect lists per building, crack records on the neighbours and site diaries on a map, with every walk-round appended to the building
Defect lists, pre-construction condition records and site diaries kept as one history per building or section, from the first survey to the acceptance.A defect is in three places at once: the description in the list, the photo on the site manager's phone, the responsibility in an email. A crack on the neighbour's facade has to be measured before the excavator arrives and again after the shoring, or the complaint cannot be answered. Geocadra keeps the buildings as a map layer from the cadastre or the site plan, runs every walk-round as a project on that layer and appends each record to the building it belongs to.
Worked example
A street's buildings, surveyed before and after the works
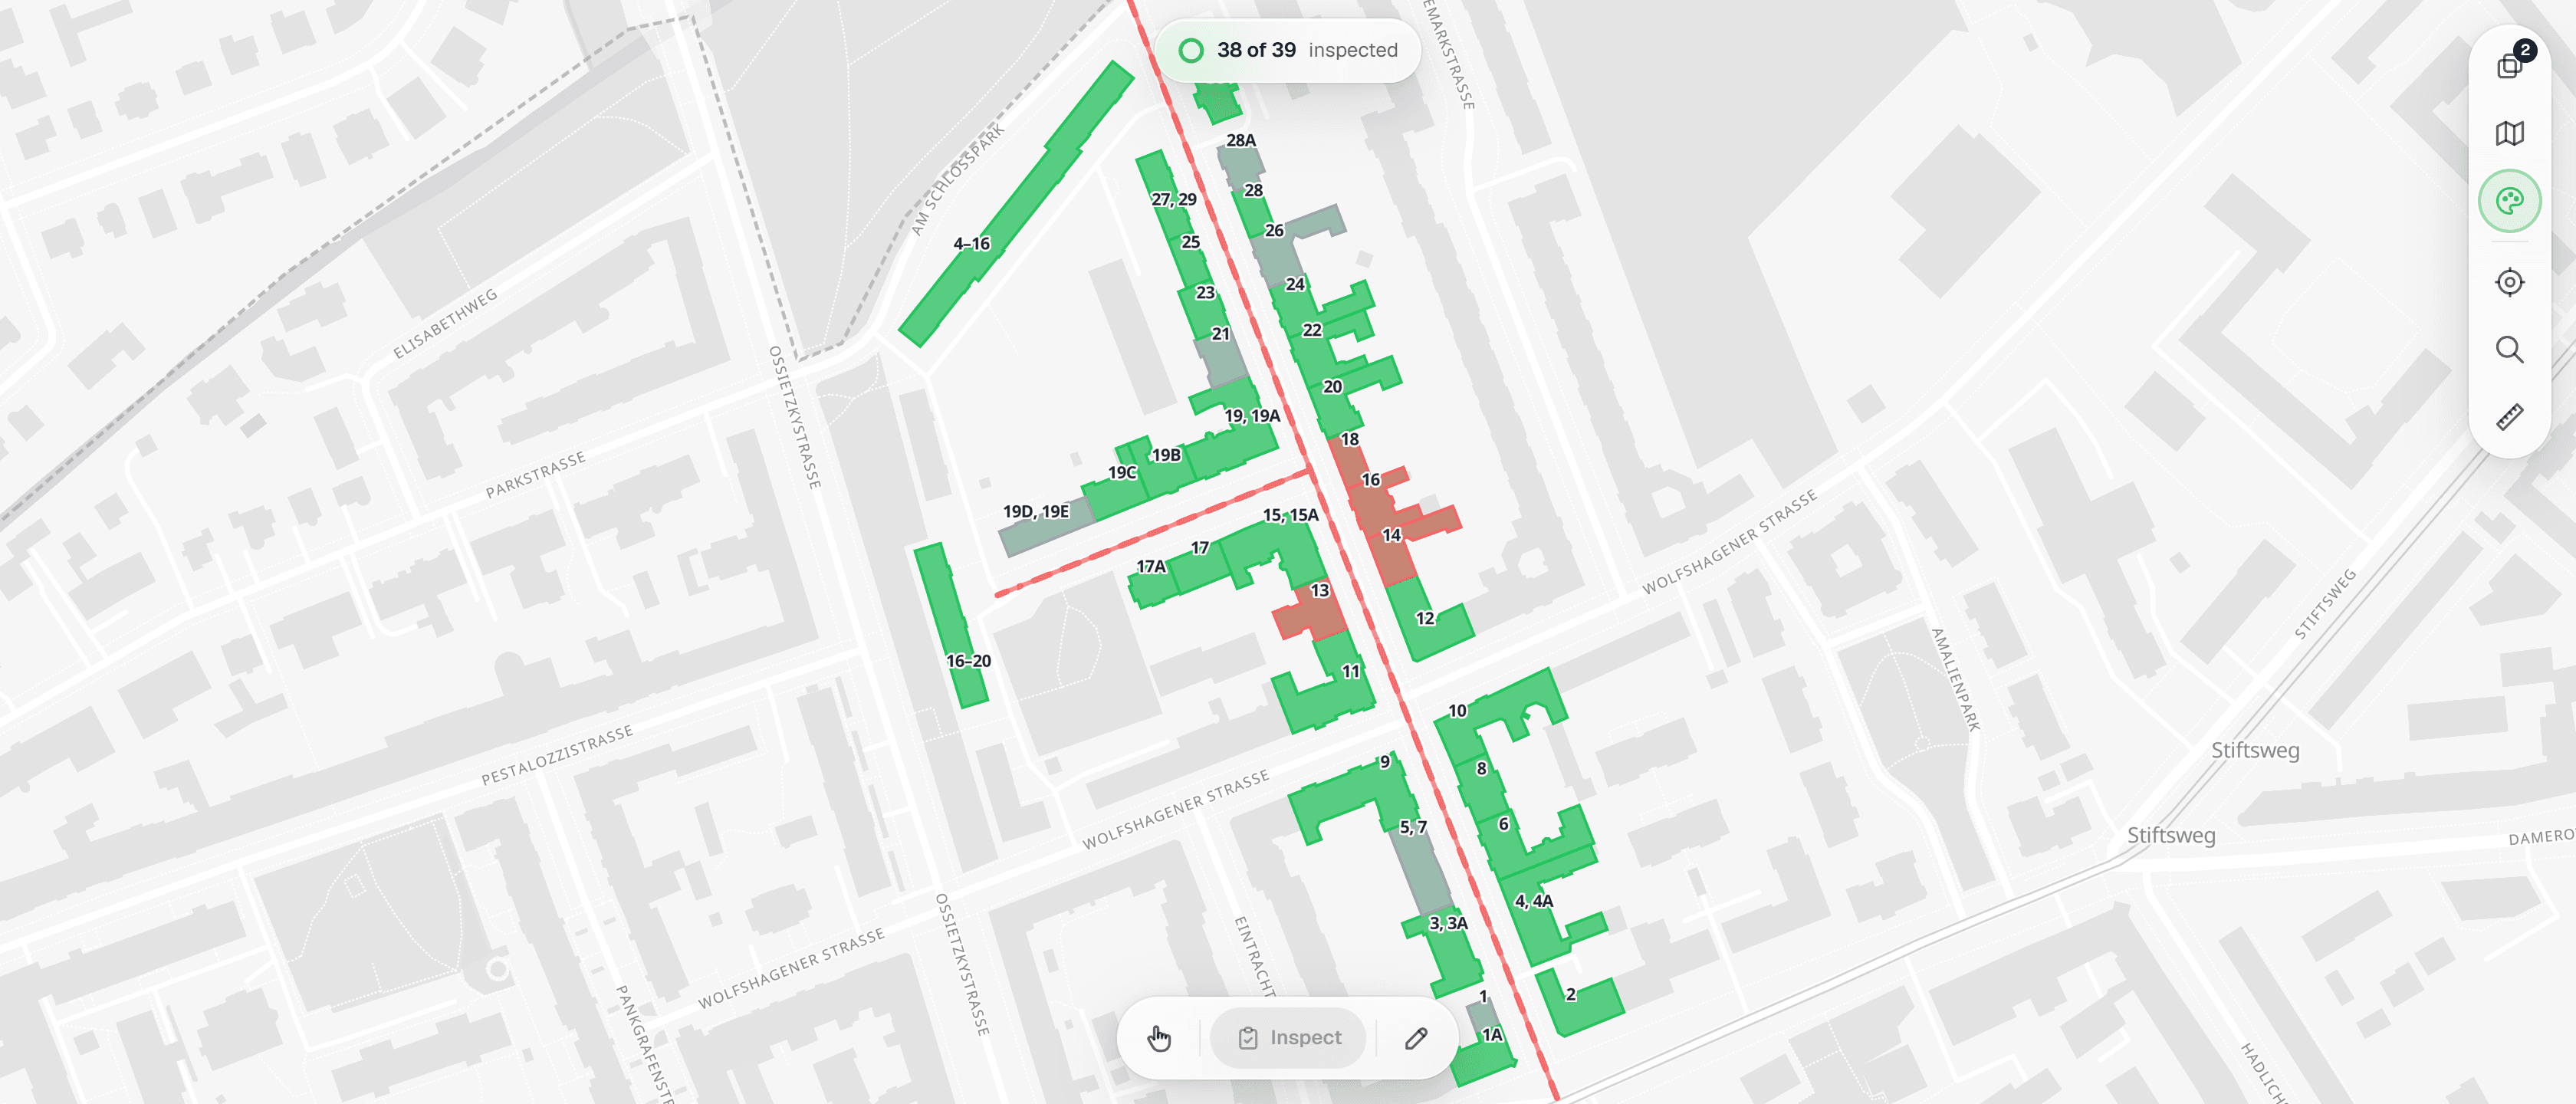
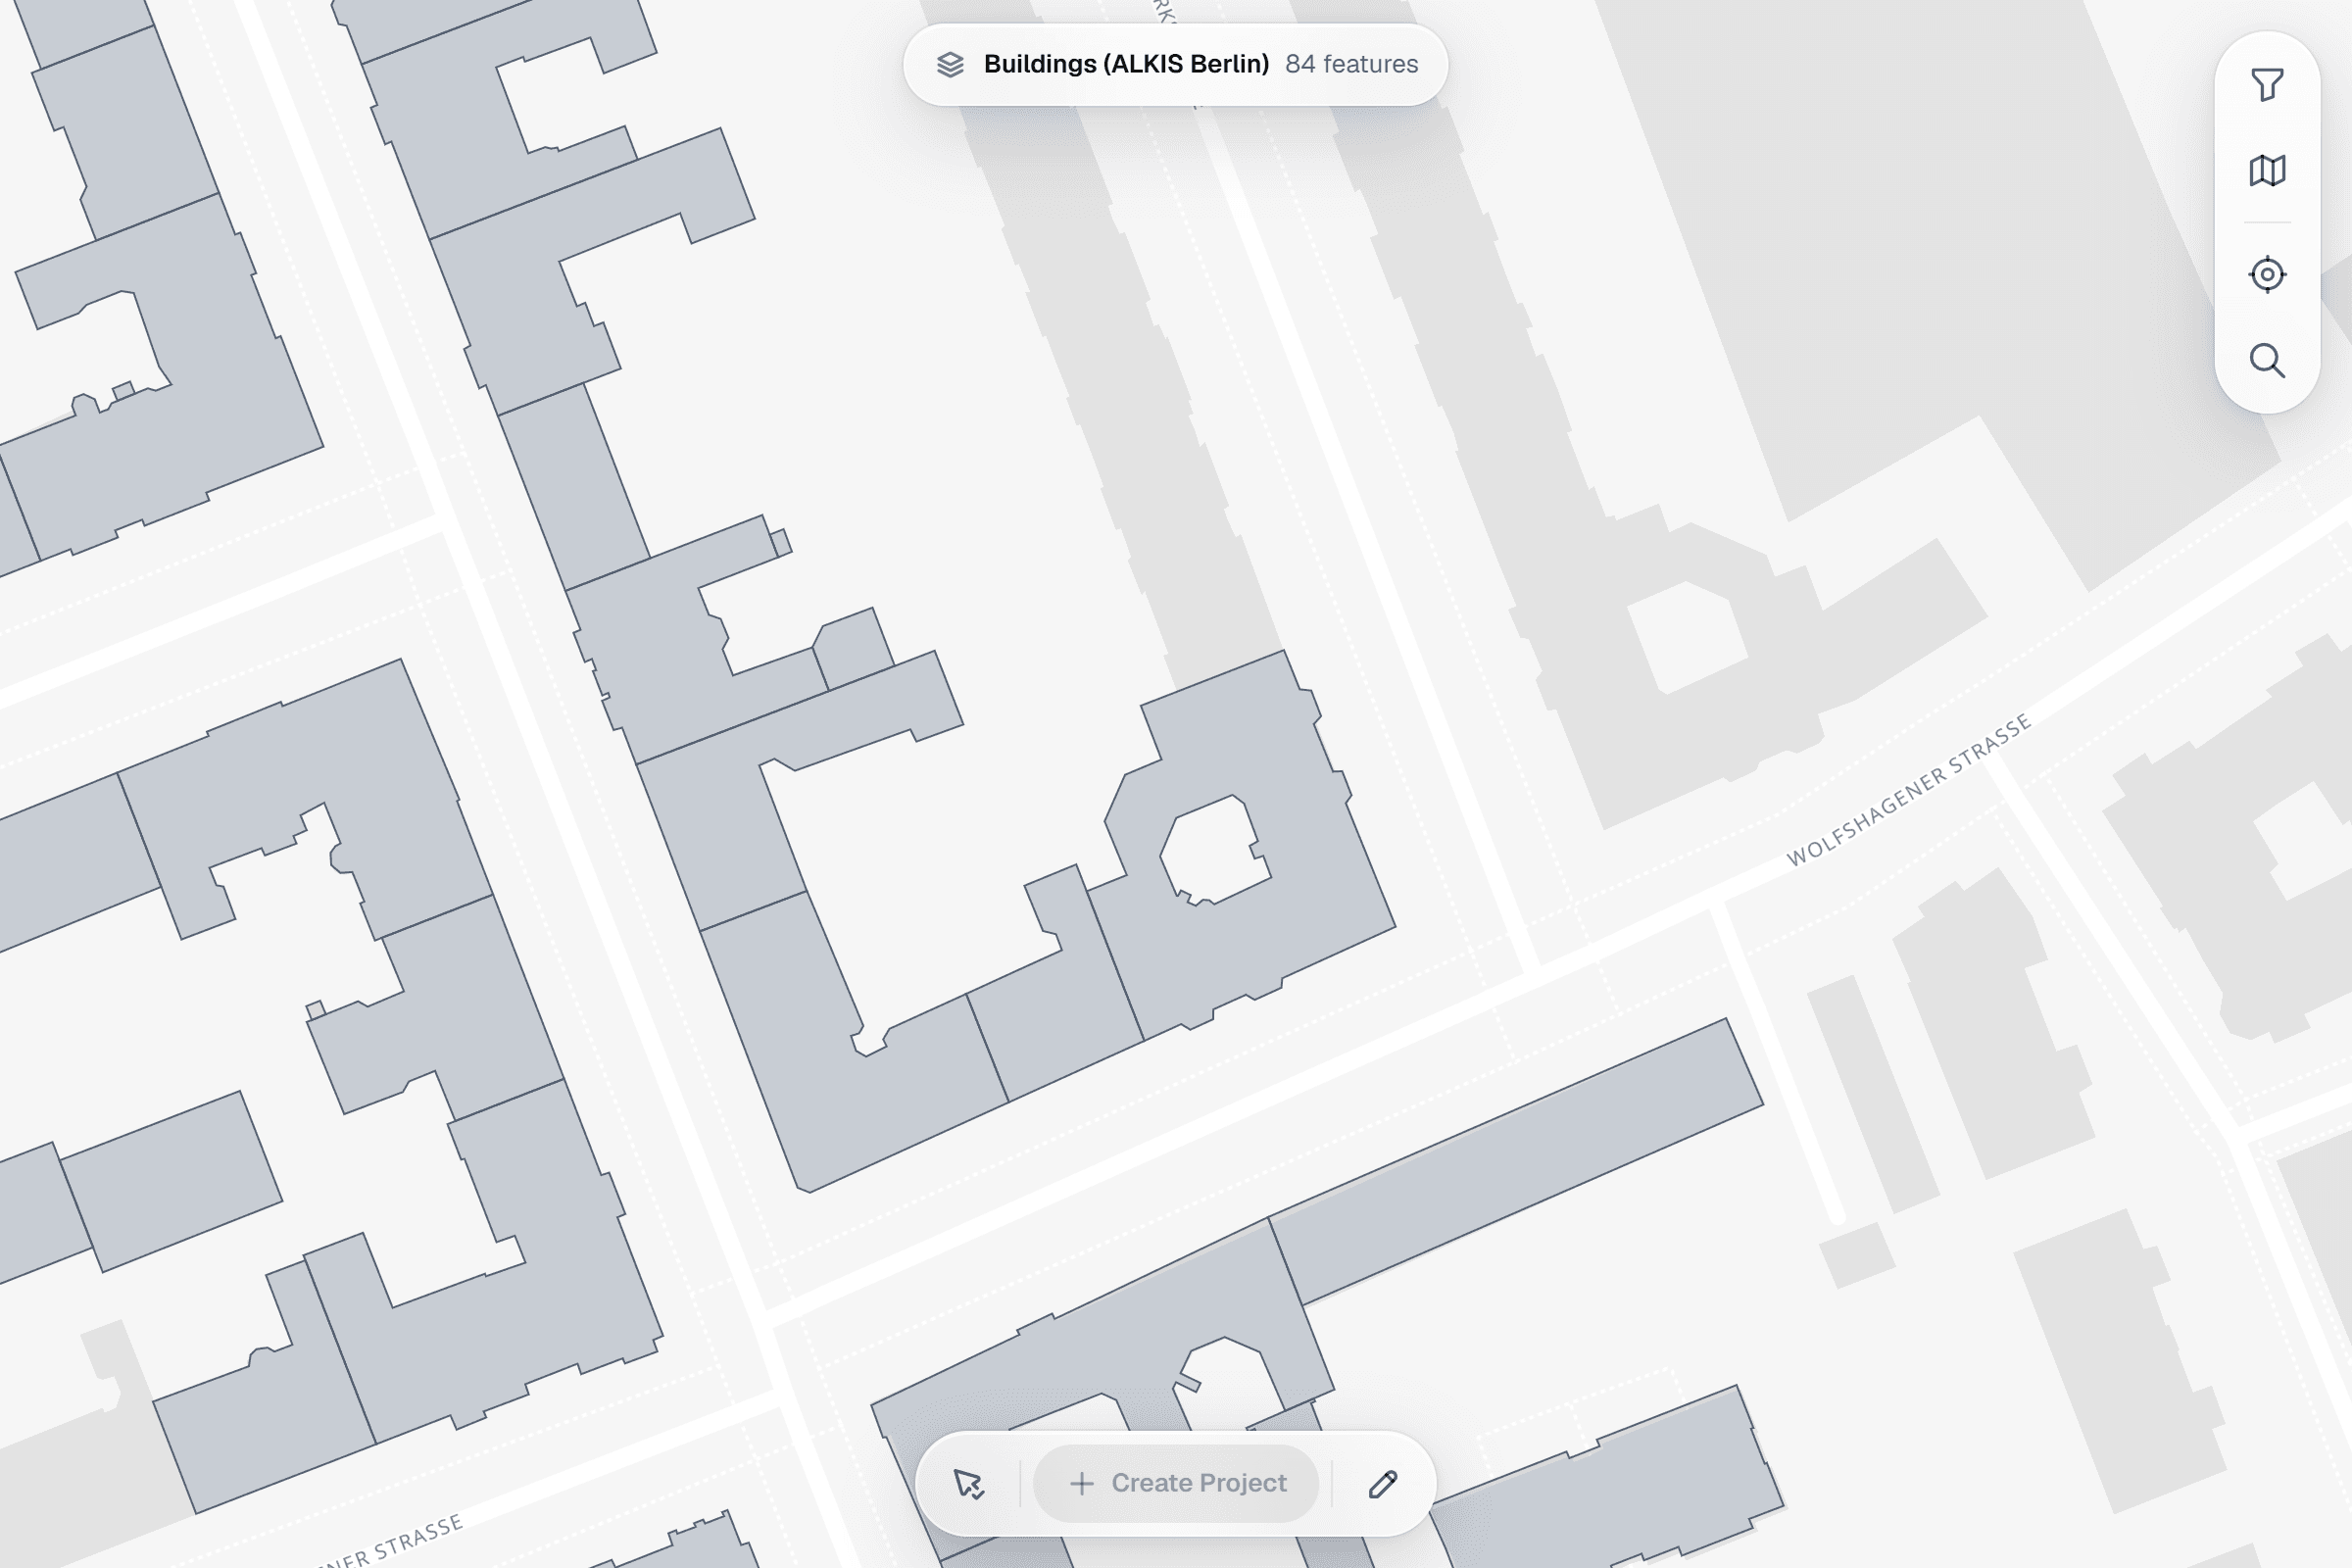
The screenshots on this page are not mock-ups. They come from the Geocadra demo workspace, where the buildings along a sewer renewal in Berlin-Pankow were imported from the city's cadastre and surveyed twice with one condition-survey form: before the works in March and after them in September. Footprints, building functions and storeys are the real published cadastre data; the street name, the works, defects, cracks, photos and people are demo data.
Dataset
ALKIS buildings, Berlin-Pankow, extract along the works
- Publisher
- State of Berlin, Senate Department for Urban Development, Building and Housing, via the Berlin geodata infrastructure
- Licence
- Data licence Germany – Zero – version 2.0
- Coordinate system
- EPSG:25833 (ETRS89 / UTM zone 33N)
- Extract
- 84 buildings, 54 KB GeoJSON
 01
01Import the cadastre extract
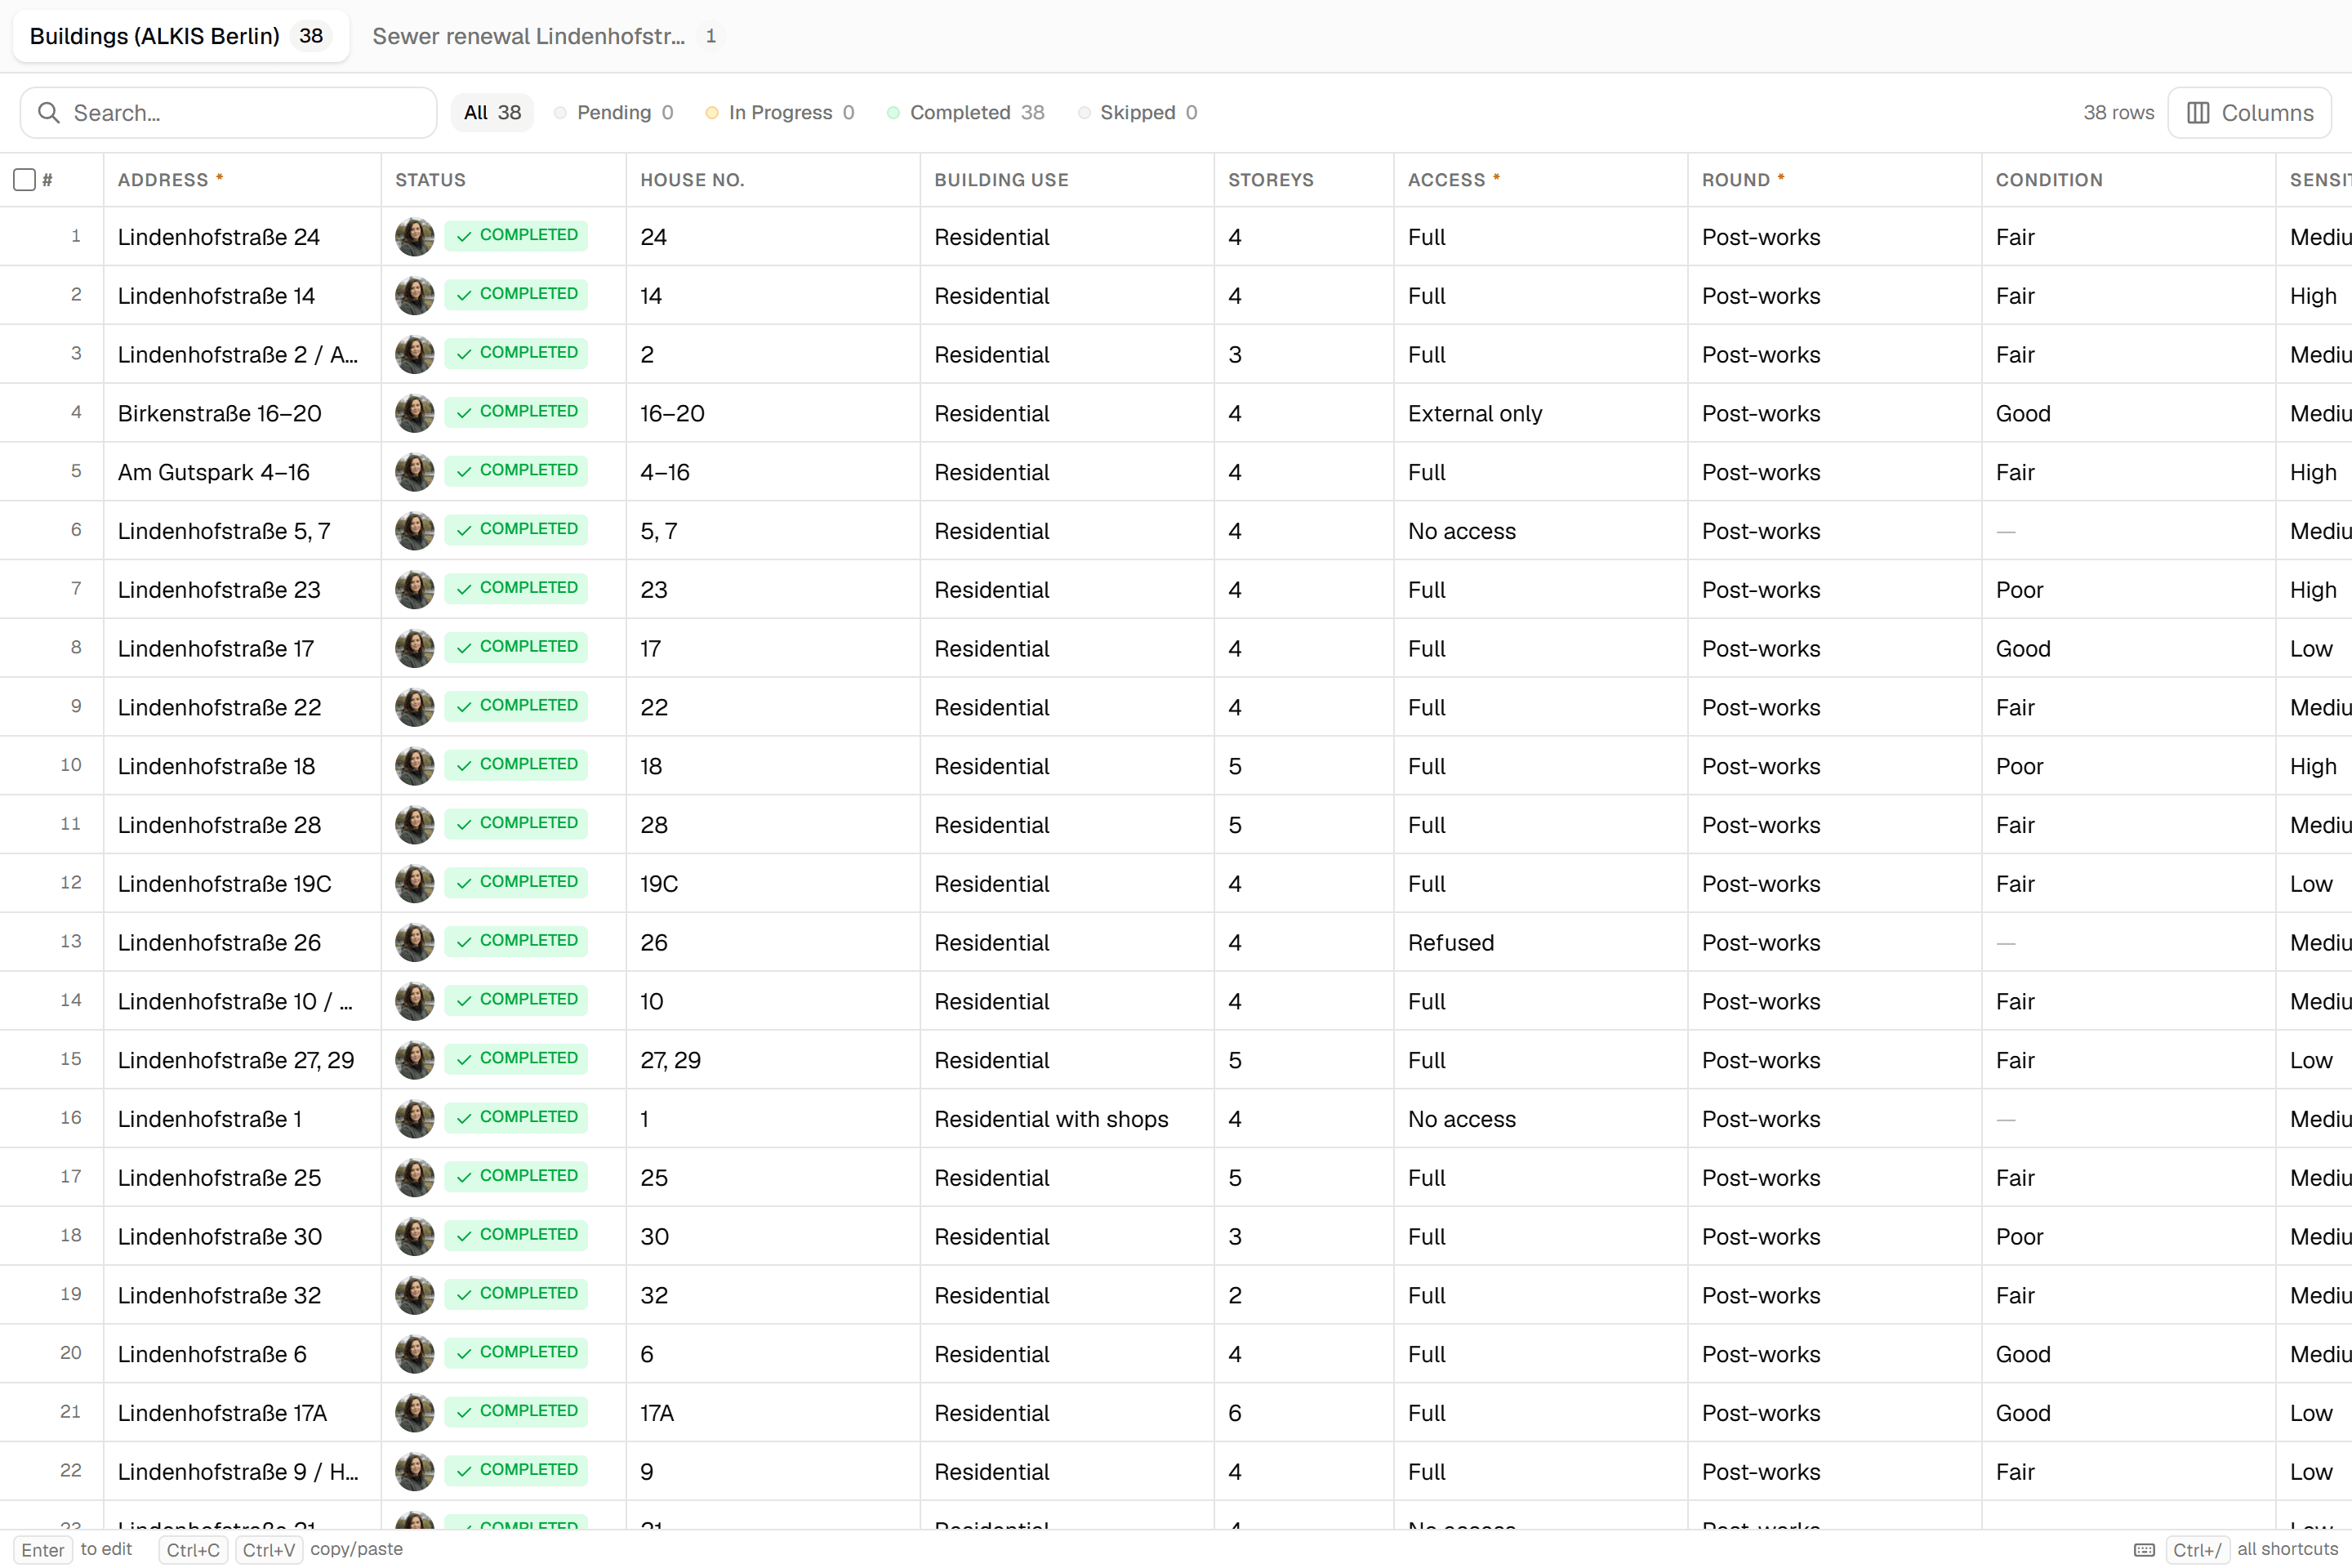
The file declares a projected coordinate system. The importer detects it, places the 84 building footprints on the map and keeps the building function, construction type, storeys and footprint area as attributes. Save as one layer.
 02
02Set up the survey form
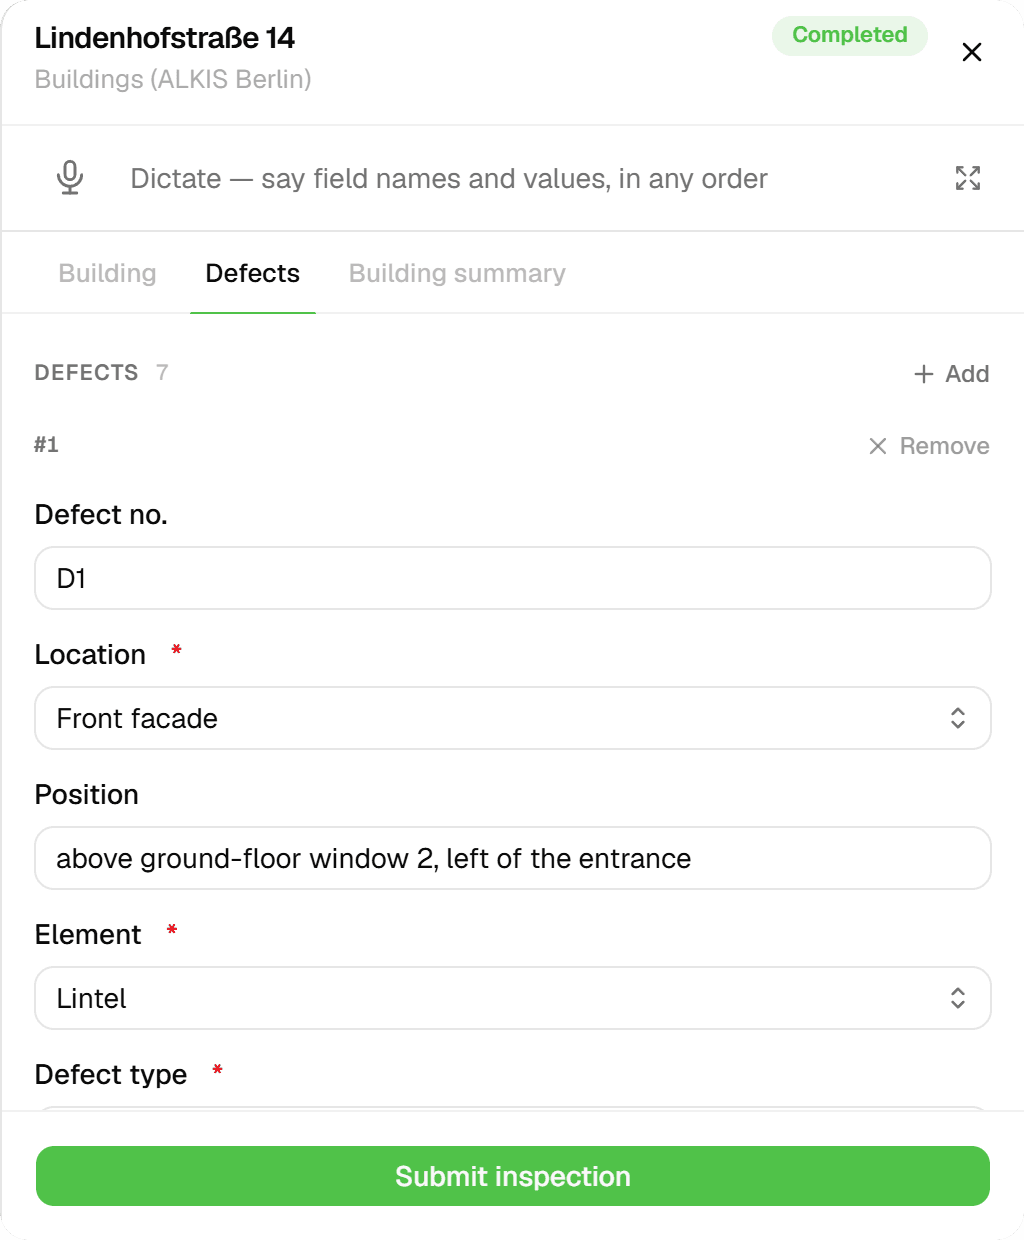
One form for both surveys: the building with its use, storeys and access, then one entry per defect with location, element, defect type, crack width and length, the comparison with the previous survey and whether a crack gauge was fitted, and a result per building.
 03
03Run the survey along the works
The post-works survey covers the 38 buildings next to the works line and is done in the screenshot: 38 inspections by a team of four, the reports written from it, and the buildings on the map. The works line itself is a reference and is skipped.
 04
04Record at the building
Tap the building, open the form: building data, then one defect after another with location, position, element and defect type, crack width and length to compare with the previous survey, photos and notes.
 05
05Both surveys stay on the building
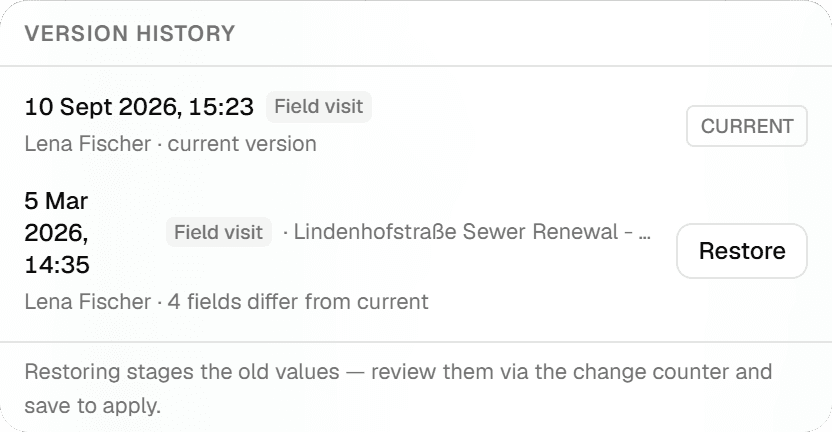
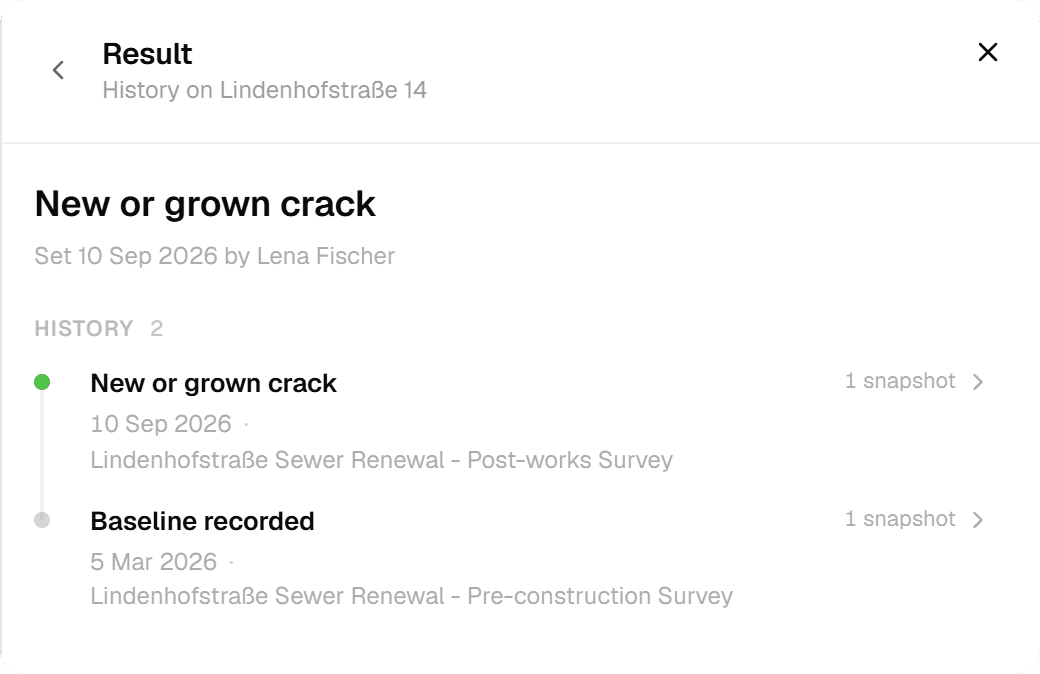
The features grid shows the version history of a building: the post-works survey in September as the current version and the pre-construction survey in March, with the number of fields that changed between them. Any version can be staged for restore and reviewed before it is applied.
 06
06Hand it over
DXF with the surveyed buildings and their addresses on a label layer for the engineer's drawing, Excel for the defect schedule, a PDF report for the owner or the insurer. Export the current values or a chosen version; the history stays.
The challenge
What a site supervisor actually deals with
From construction-law commentary, site-management software reviews and site practice, three problems come up every time.
- 01
The defect is in three places at once
The description is in the defect list, the photo on the site manager's phone, the responsibility in an email thread. Evenings go to reassembling photos, spreadsheet rows and mails per defect. Once several people work on the spreadsheet, everyone has a different version, and the client still wants Excel.
- 02
A defect without a deadline is not enforceable
Contract law requires notice with a reasonable deadline; a defect noted without one, or a reservation at acceptance without a listed defect, has no effect. Which deadlines expire this week is the recurring question in the critical phase, and nobody sees it in a spreadsheet with forty tabs.
- 03
Pre-construction records are hundreds of photos without geometry
The expert photographs cracks with a scale, numbers them in a document, and re-inspects after the shoring. Comparing width against the first survey means finding the same photo among hundreds. When the neighbour complains, the answer must be per crack, with the date of the first record.
The solution
How the walk-round runs in Geocadra
Everything below is what the product does today, shown above on a real cadastre extract.
The buildings are a layer you import once
Load the buildings from the cadastre, the site plan as DXF or DWG, or a GeoJSON from the surveyor. The importer detects the coordinate system, places the footprints on the map and keeps every attribute: function, construction type, storeys, address. The address becomes the building's name; nothing is renumbered.
Each walk-round is a project on the same layer
The shell walk-round, the pre-acceptance walk-round and the two condition surveys of the neighbours are four projects on the same building layer. Each has its own form, its own participants and its own progress. Because they all point at the same building, the building's history holds them all, in order, with the person who submitted each one.
Defects with trade, contractor, deadline and status on the record
The defect list per building holds one entry per defect with trade, contractor, responsible person, component, description, severity, priority, computed deadline, tender item, measurement against tolerance and status from open to accepted. The contractor reports fixed with a photo; the supervisor verifies on the next round.
Hand over in the format the next party wants
Excel per contractor for the defect notice, PDF per building for the acceptance protocol, DXF or GeoJSON for the surveyor and the client's GIS. The export takes the walk-round's current values or a chosen version; the history stays in Geocadra either way.
How it works
Common Workflows
Six rounds as they run on site, each backed by a form from the Geocadra marketplace. Copy the form, adapt the wording, keep the structure.
- 01
Defect walk-round before acceptance
The site supervisor walks building by building with the floor plan, records each defect with trade, photo, priority and deadline, and sends the lists per contractor the same evening. Contractors report fixed with an after-photo; the supervisor verifies on the next round; open items become the defect annex of the acceptance protocol.
- 1.Create the walk-round as a project on the building layer with the defect form and assign the buildings.
- 2.At each building, record the defects with trade, contractor, component, photo, severity and priority; the deadline is computed from the priority.
- 3.Export the list per contractor; the contractor marks fixed with a photo in the same project.
- 4.On the next round verify and close each defect; open items go into the acceptance protocol with the reservation ticked.
- 02
Pre-construction condition survey of neighbouring buildings
Before excavation, the expert walks the neighbours' facades and rooms with the cadastre outlines, records each crack with width, length, direction and a photo with scale, installs crack monitors and height bolts, and has the neighbour sign. After the shoring, the same points are re-inspected and the change in width is computed.
- 1.Create the first survey as a project on the neighbouring buildings with the crack record form.
- 2.Record each crack with location, orientation, width, length, age and photo; set monitors and benchmarks where the width warrants it.
- 3.Create the interim survey after excavation and shoring; record the same crack numbers with the new width and height, the change is computed.
- 4.When a complaint arrives, open the building's history: the crack was recorded on the date of the first survey, or it is new.
- 03
Site diary that cannot be reconstructed later
Every morning the supervisor opens the day's entry: weather, companies on site, headcount, works, deliveries, stoppages with time, tests done. Photos are added during the day; at the end the entry is signed and locked, which is what a court expects of a diary.
- 1.Create the day's entry from yesterday's; adjust companies and headcount.
- 2.During the day add photos and notes per area; log a stoppage with its time and cause.
- 3.Link the tests done today and the defects recorded today.
- 4.Sign and lock; the client countersigns weekly; the PDF carries the sequential number.
- 04
As-built survey of pipes in the open trench
Before backfilling, the pipe axis and fittings are measured in the open trench with GNSS or a total station, with a trench photo and a folding rule. Backfilling is released only when the run is surveyed; the export goes to the network operator in its coordinate system and layer scheme.
- 1.Import the design as DXF and the trench sections as lines.
- 2.In the open trench, record each object with method, accuracy, coordinates, cover depth, material and diameter.
- 3.The supervisor releases backfilling per run only when the record exists.
- 4.Export DXF layers per the operator's guideline plus a point list and the test protocols as PDF.
- 05
Weekly site safety walk-round
The safety coordinator walks the site with the checklist: excavations, scaffolds, edges, electrical, traffic routes. Each finding is pinned with a photo, a severity and the employer concerned; imminent danger stops the work and is logged in the diary.
- 1.Create the week's project with the safety form on the site polygon.
- 2.Record each finding with position, photo, severity and the employer concerned.
- 3.Imminent danger goes to the site manager immediately; the stoppage is logged in the diary.
- 4.Export the protocol to the client and all employers; open items appear first on the next round.
- 06
Paving acceptance with measurements
Per area, the supervisor records joint widths, evenness under the straightedge, cross fall and the bedding, with photos per measurement point. Defects link to the area; the acceptance protocol carries the measurements.
- 1.Import the paved areas as polygons from the design.
- 2.At each area, record the measurements per point with tolerance reference and photo.
- 3.Defects become entries with the contractor and a deadline.
- 4.Export the acceptance protocol per area with measurements and photos.
The impact
What Changes
“The building's record answers the question at acceptance: what was found, when was it notified, what deadline, what did the contractor report and who verified it. The crack a neighbour complains about was measured before the excavator arrived, with a photo and a scale. Deadlines expiring this week are one filter away. The defect notice per contractor is an export, not an evening.”
Standards
Compliance & Standards
The forms follow the way each regime structures the work; the record shows the notice, the deadline and the status without prescribing a national standard. Examples of what the marketplace forms map to:
- Defect notice with reasonable deadline and reservation at acceptance (e.g. VOB/B in Germany, snagging and punch-list practice elsewhere)
- Defects with trade, contractor, severity, priority, computed and set deadline, tender item, measurement against tolerance and status; the notice date and the reservation flag sit in the record.
- Pre-construction condition records on neighbouring buildings with crack widths and monitors (e.g. DIN 4123, DIN 4150)
- Crack location, width with scale, length, direction, age and photo; monitors and benchmarks with initial and current readings; the change is computed at the interim survey.
- Site diaries kept daily and locked (e.g. the German fee scale's site supervision phase and case law on reconstructed diaries)
- Daily entries with weather, companies, headcount, works, stoppages, tests and photos; signed, locked and numbered; countersigned weekly.
- As-built surveys of utility pipes in the open trench (e.g. DVGW GW 120 and network operators' survey guidelines)
- Object, method, accuracy, coordinates, cover depth, material and diameter measured in the open trench; backfilling released per run; export per operator guideline.
- Site safety walk-rounds by the safety coordinator (e.g. the German construction site ordinance and accident insurers' rules)
- Findings with position, photo, severity and employer; imminent danger stops the work and is logged; open items first on the next round.
Questions
Frequently Asked Questions
- Can we pin defects on our floor plans?
- Yes. A plan as PDF, DXF or DWG is attached to the building and the defect carries the plan reference, level and room. The site plan itself can be imported as a layer, so a defect on the grounds is a point on the map.
- Do subcontractors need a licence?
- A contractor is invited to the project with a seat and sees the buildings and defects assigned to their trade. They report fixed with a photo; the supervisor verifies. How many seats you buy is your call; the export per contractor works without any.
- The client still wants Excel. Do we get it out again?
- Yes. The export is a typed table per building or per contractor, with the photo links, and it takes the current values or a chosen version. The history stays in Geocadra.
- Does it work in the basement without reception?
- Yes. The forms and the map work offline on the phone and sync when the connection returns. The site diary can be filled in the container at the end of the day.
- Does Geocadra produce the acceptance protocol?
- The acceptance protocol form from the marketplace records participants, reservations, defects carried over and both signatures on the device; open defects from the walk-round are its annex. The PDF is exported per building.
- Our surveyor delivers DXF. Can we use it?
- Yes. DXF and DWG import as layers with their layer scheme and coordinate system, and exports go back out as DXF per the operator's guideline. The free viewer on this site opens the surveyor's file without an account.
See your own fieldwork in Geocadra
Set up a project, run an inspection and export the result. Free for 14 days, no credit card.
No credit card requiredFree trial included